5 minute read
Granite Surface Plates: The Foundation of Manufacturing
In the world of precision engineering and manufacturing, accuracy is paramount. Every step relies on precise measurements, from measuring small parts to ensuring the quality of finished products.
At the heart of accurate measurement lies the humble yet essential tool – the granite surface plate.
The Evolution of Surface Plates
The Early Days: Cast Iron Surface Plates
Surface plates have been an integral part of engineering since the early 19th century when the need for standardisation in mass production became apparent. Henry Maudsley, a renowned lock maker, recognised the importance of an actual plane surface for accurate measurements. Cast iron surface plates were the material of choice in those days, providing a flat and robust surface for measurement.
The Rise of Granite Surface Plates
As the demand for precision increased, new materials were explored for surface plates. During World War II, when cast iron became scarce due to its use in the war effort, granite emerged as an ideal alternative. Granite, a non-corroding metal with excellent hardness and non-magnetic properties, offered superior characteristics for surface plates.
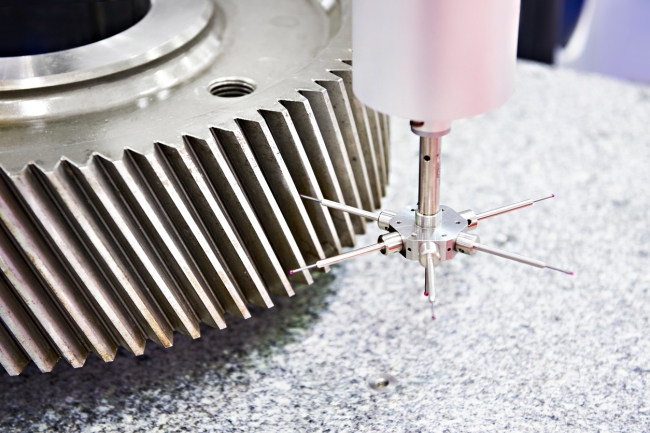
Today, granite surface plates are widely used in various industries, ranging from aerospace to automotive, electronics to energy. Their exceptional flatness, stability, and durability make them indispensable tools for accurate measurements.

Picture: Getty/iStock
The Purpose and Significance of Surface Plates
Surface plates serve as the foundation for precise measurements in the manufacturing industry. They provide a stable and reliable reference point for various measuring instruments and gauges. Here are some key reasons why surface plates are essential in manufacturing:
1 – Calibration and Inspection
Surface plates are used to calibrate and inspect various measuring tools and gauges. They establish a flat and level surface against which measurements can be made. The measurements can be trusted if the surface plate is accurate and well-maintained.
2 – Quality Control
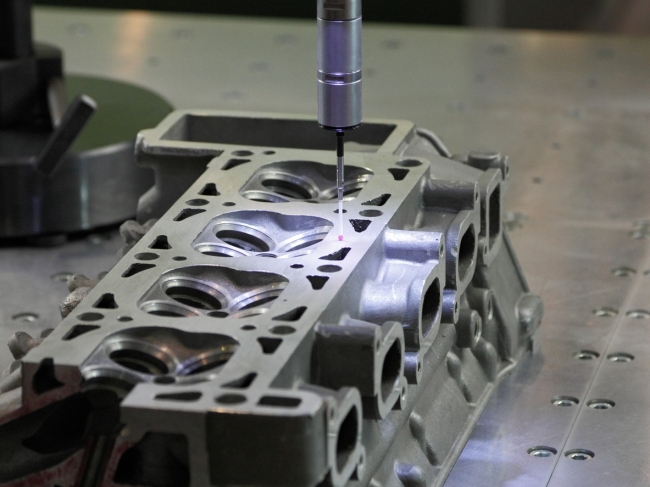
Quality control is crucial in manufacturing to ensure that products meet the required specifications. Surface plates play a vital role in quality control by providing a reference surface for checking parts’ flatness, straightness, and dimensions. Reliable measurements on a surface plate help identify deviations from the desired specifications, allowing manufacturers to take corrective actions.
3 – Precise Machining
When machining parts, it is essential to have a stable and flat surface. Surface plates provide the necessary stability and reference point for accurately machining parts to the required dimensions. They help ensure uniformity and precision in the manufacturing process.
4 – Versatility and Compatibility
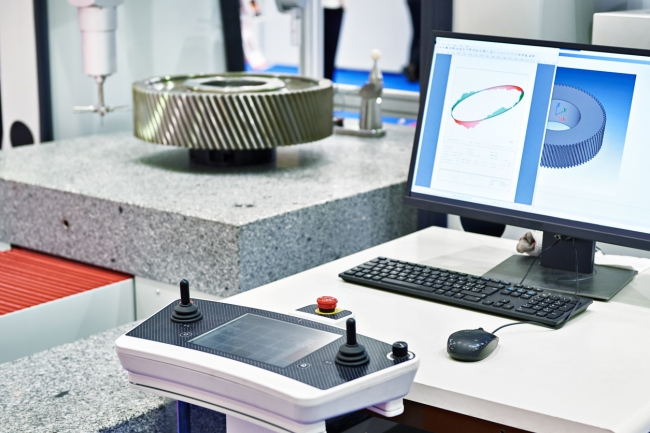
Surface plates are compatible with a wide range of measuring instruments and gauges. They can be used with height gauges, dial indicators, coordinate measuring machines (CMMs), and other metrology equipment. This versatility makes surface plates a valuable tool in various industries where precise measurements are critical.
Types and Grades of Surface Plates
Surface plates come in different types and grades, each designed for specific applications and accuracy requirements.
Grade 0
Grade 0 surface plates are the most accurate and are typically used in calibration laboratories or control rooms. These plates are meticulously manufactured and inspected to ensure the highest level of accuracy. They provide a reliable reference surface for measuring master artefacts and setting precision gauges.
Grade 1
Grade 1 surface plates are commonly used in general inspection services. They offer a high level of accuracy and are suitable for a wide range of applications in manufacturing environments. Grade 1 plates provide reliable flatness and stability for precise measurements.
Grade 2
Grade 2 surface plates are often used in workshop settings where strict tolerance levels are not required. They offer good accuracy and stability for general machining and inspection purposes. Grade 2 plates are more cost-effective than Grade 0 and Grade 1 plates, making them suitable for less critical applications.
Grade 3
Grade 3 surface plates are the least accurate and are not commonly used in engineering measurements. They have a lower level of flatness and stability compared to higher-grade plates. Grade 3 plates may find limited use in non-critical applications or as working surfaces where precision is not a primary concern.

Picture: Getty/iStock
Maintaining and Caring for Surface Plates
Proper maintenance and care are essential to ensure the accuracy and longevity of surface plates. Here are some recommended practices for maintaining these precision instruments:
1 – Proper Installation and Support
Following the manufacturer’s guidelines is crucial when installing a surface plate. Precision Metrology experts at Eley Metrology can advise and support correct installation. Use the support system provided with the plate, which often includes a hard rubber pad attached to the bottom. These pads play a critical role in maintaining the accuracy of the surface plate by reducing vibration. For larger plates, multiple support systems may be necessary to control vibration effectively.
2 – Regular Inspection and Calibration
Regular inspection and calibration ensure the surface plate remains flat and accurate. Inspect the surface for any dents, scratches, or signs of wear after each use. Periodically check the flatness using a repeat reading gauge with a manual indicator. If significant deviations are detected, resurfacing may be necessary to restore the plate’s flatness.
3 – Cleanliness and Protection
Maintaining a clean surface is essential for accurate measurements. Before and after each use, clean the surface plate using granite cleaners or mild cleaning agents recommended by the manufacturer. Avoid using metal straps or chains to secure heavy parts, as they can damage the surface. Always use soft cloths to prevent scratching.
To protect the surface plate from debris and contaminants, use a cover when not in use. This helps prevent dust, dirt, and grease from settling on the surface, ensuring the accuracy and longevity of the plate.
4 – Avoid Misuse and Overload
Surface plates should not be used for purposes other than their intended use. Avoid using them for storage or as a workbench. They should not be subjected to excessive loads or impacts, as this can compromise their flatness and accuracy. To avoid overloading, use the correct size of surface plate for the parts and measuring equipment being used.
5 – Rotation and Even Distribution
To minimise wear and maintain flatness, periodically rotate the position of the parts and measuring equipment on the surface plate. This helps distribute the load evenly across the plate, preventing excessive wear in specific areas. Avoid lifting or moving the table by the granite surface, as this can cause damage. Instead, use lifting devices that support the rubber pad.

Picture: Getty/iStock
Conclusion
Granite surface plates are the cornerstone of manufacturing metrology. They provide a stable, reliable reference surface for accurate measurements and quality control. By understanding the history, purpose, types, and care of surface plates, manufacturers can ensure the accuracy and reliability of their measurements, leading to better products and customer satisfaction.
Proper installation, regular inspection, and cleaning are essential for preserving surface plates’ accuracy and longevity. By following recommended practices and avoiding misuse, manufacturers can maximise the value and effectiveness of these indispensable tools in the manufacturing industry.
Remember, precision and accuracy are the bedrock of manufacturing success, and granite surface plates play a vital role in achieving these goals. Invest in quality surface plates, prioritise their care and maintenance, and reap the benefits of accurate measurements and consistent quality in your manufacturing processes.